My husband has been saving bottle caps for as long as I’ve known him, saying that someday he planned to make something out of them. He wasn’t sure what it would be, and the bottle caps kept accumulating. Inspired by the colorful collection, I decided to turn them into a practical gift for him. And given the volume of caps, I thought it would be good to make something that used A LOT of them!
In combing through Pinterest, I found lots of bottle cap craft inspiration. The ones that used the most were tables, so that’s what I set off to make for him.
Here is a list of the items I needed to cover a 2’x3′ table:
- 1 small table
- Lots of bottle caps (I used 486 for a 2′ x 3′ table)
- 1″x2″ wood strips for trim
- 2″ wood nails
- Wood filler
- Aluminum foil
- 16oz Gorilla Glue
- 2 quarts ready-mixed grout
- 2 quarts of pre-mixed epoxy resin
- Sandpaper
- Large grout sponge
- Grout float
- Bucket filled with warm water
- Newspaper to catch the drips
- A well-ventilated, minimally dusty room in which to work
- At least 3 days to allow for curing time (in other words, don’t start this on Christmas Eve!)

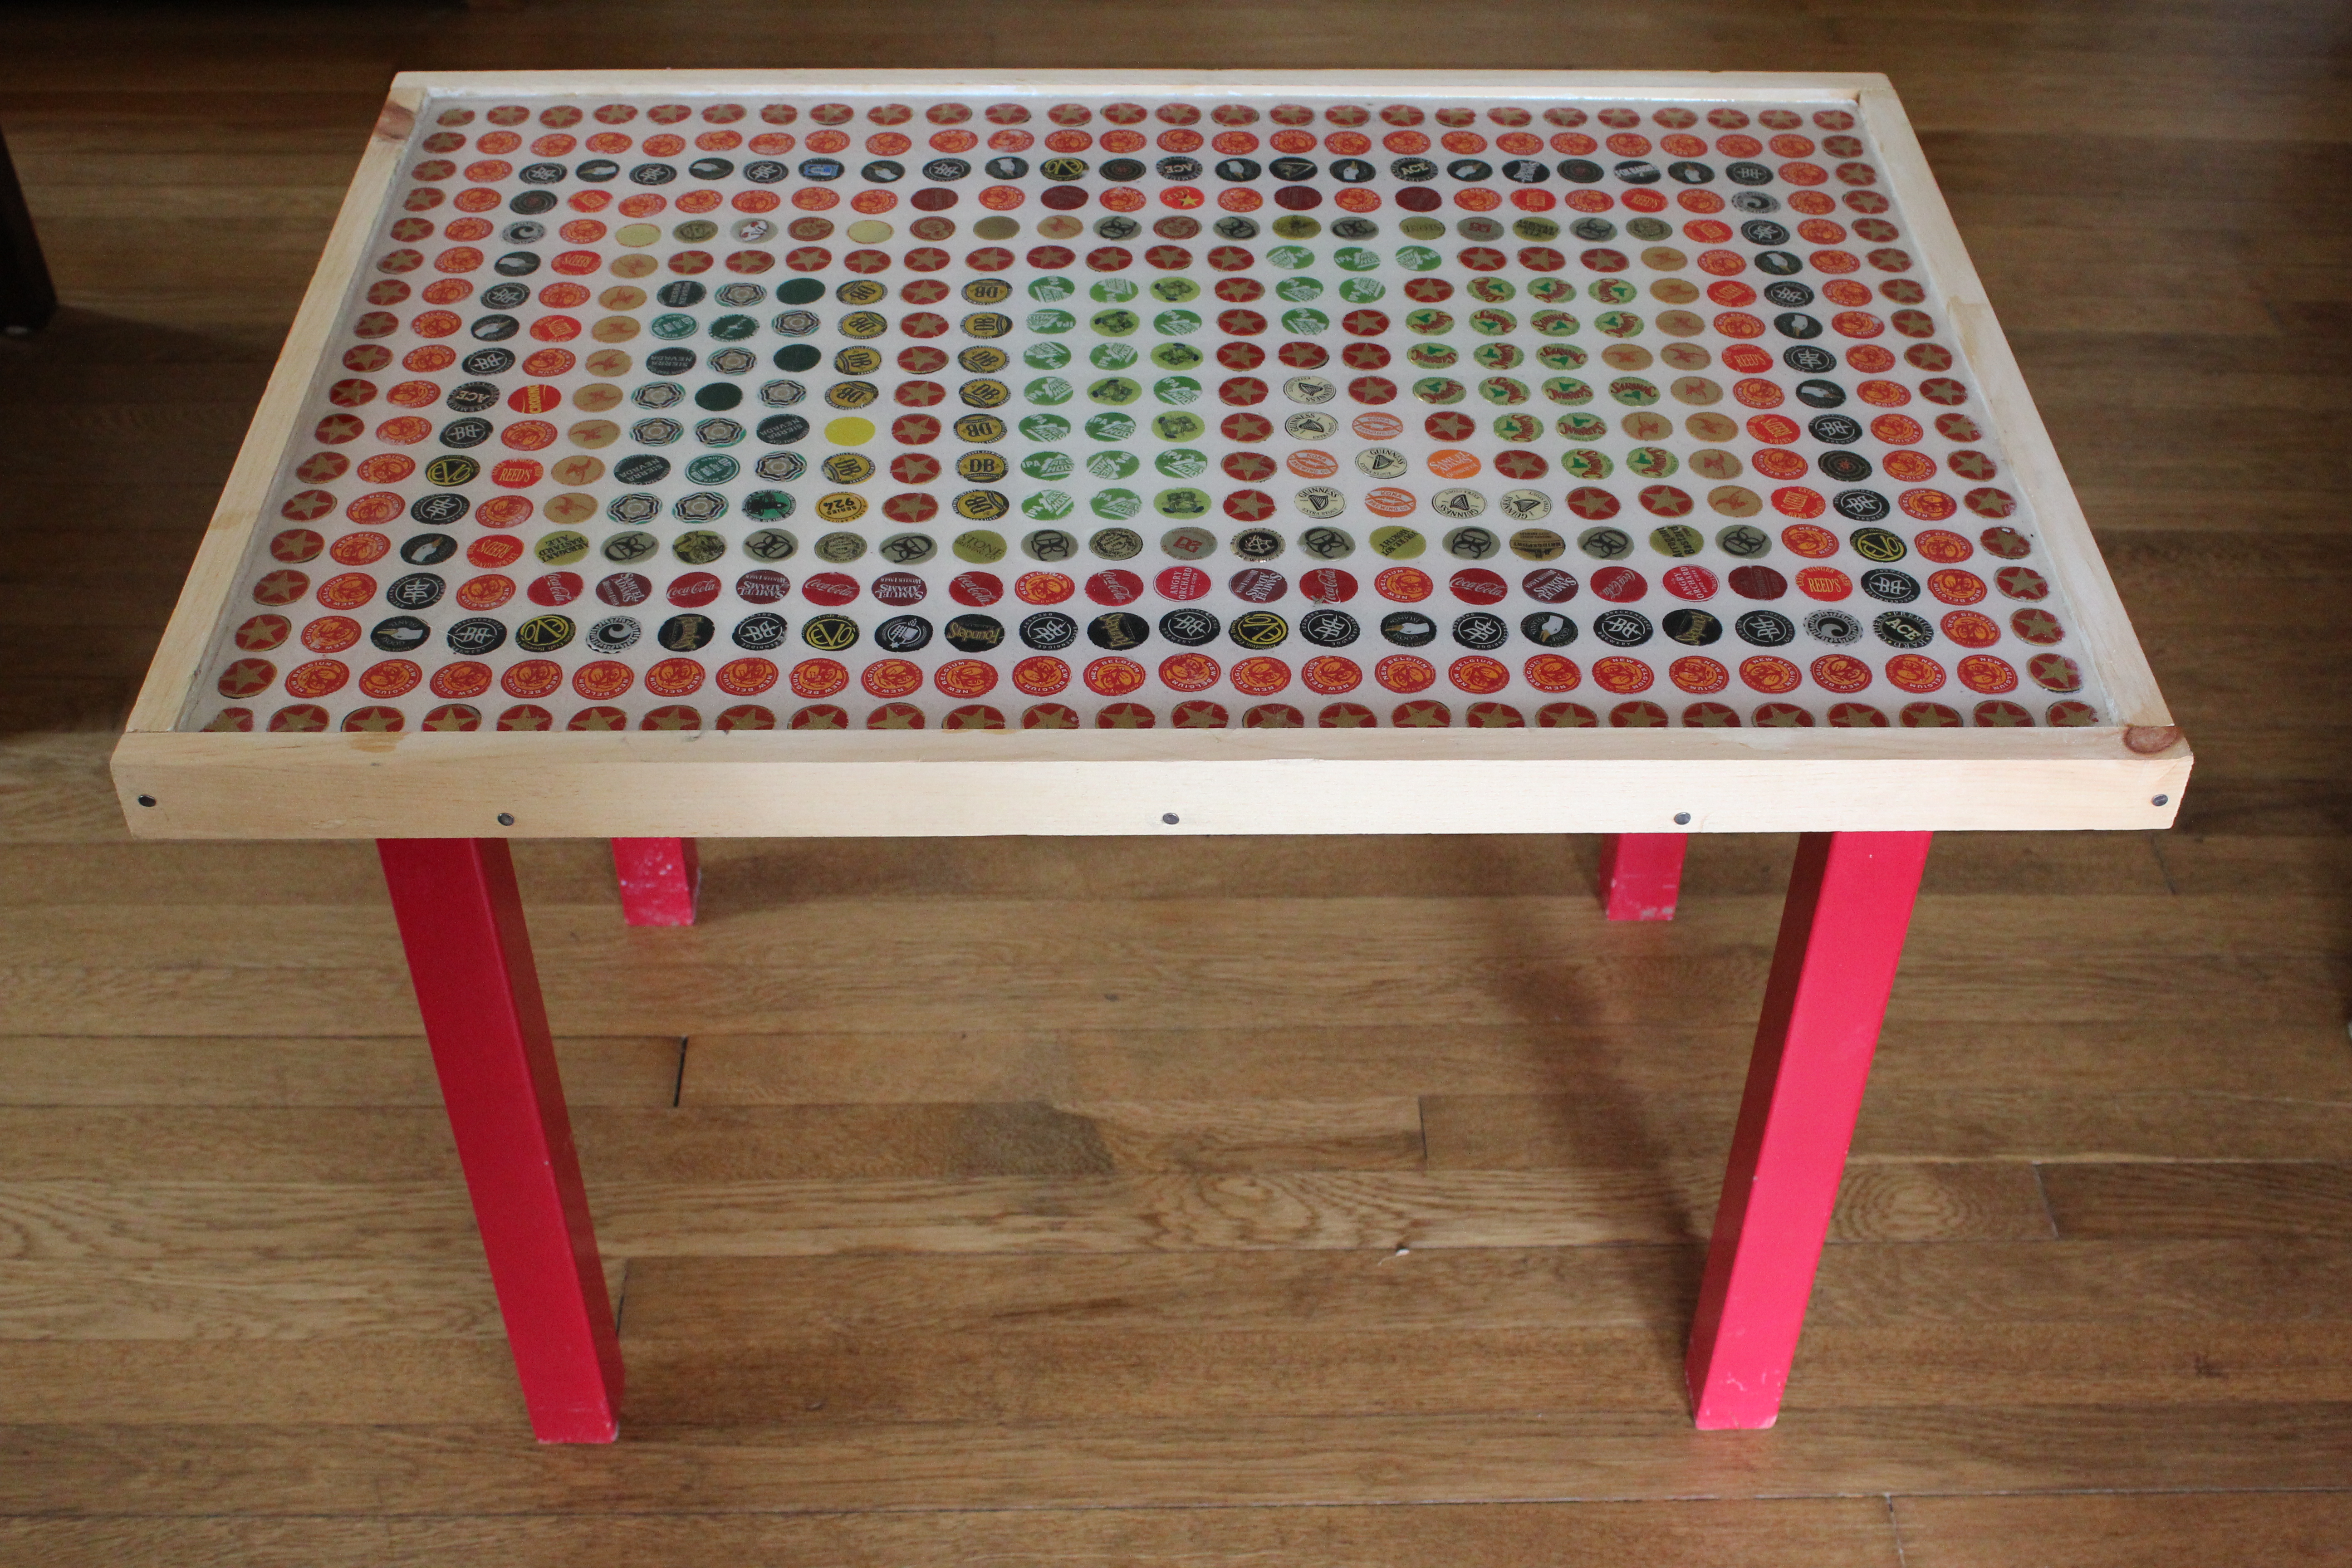
I found a sturdy, basic little table at a local thrift shop. It had a cluster of tiny princess and heart stickers stuck to the top, which I decided to just leave since I didn’t require a perfectly smooth surface.

I started by separating the caps by color, then laying them out to see what type of pattern I could make given the colors and quantities I had. Once I figured it out, I removed the caps, placing them in cups by color.
 In order to make the grouting and lacquering easier, I added a rim to the edge of the table by nailing on some 1″x2″s that I had cut to size.

Because the table had rounded edges, and I am not skilled or patient enough to cut the trim to fit, there was a gap that had to be filled.

I improvised by stuffing in some tightly wadded aluminum foil into the corner to fill in the space.
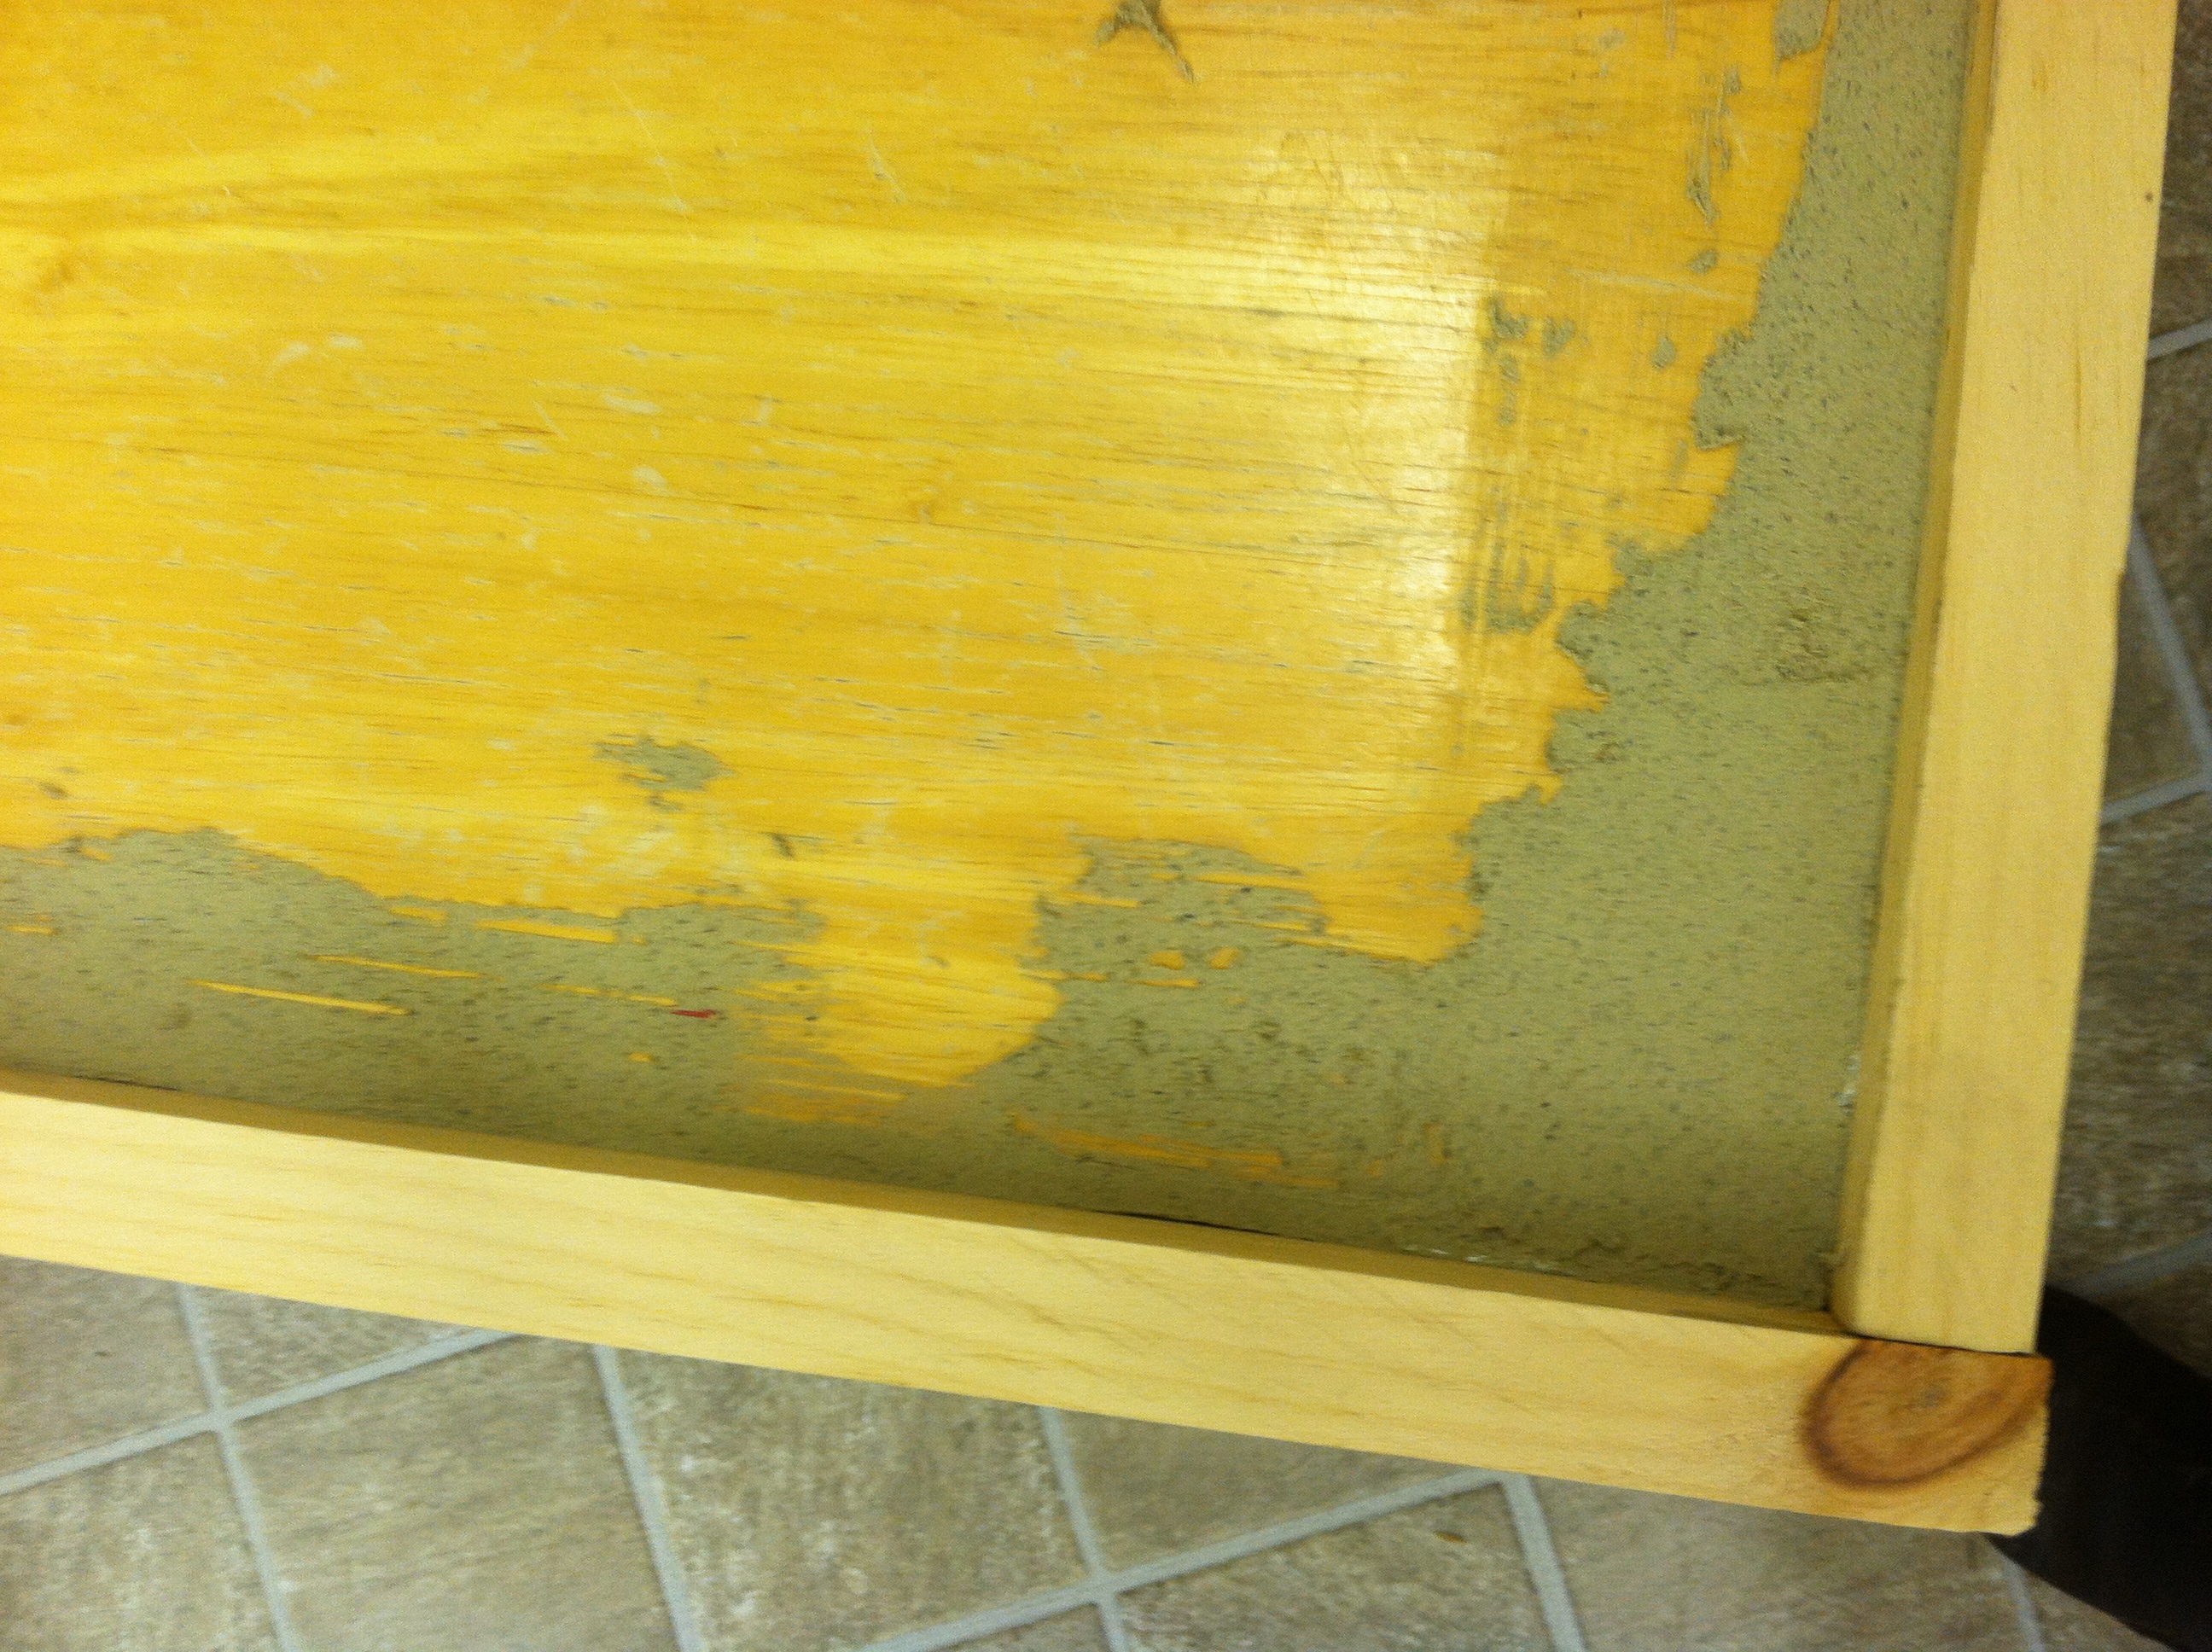
Then I filled in all of the gaps with wood filler to prevent any grout or lacquer from seeping through. Once the wood filler was dry, I sanded it and removed any loose pieces.
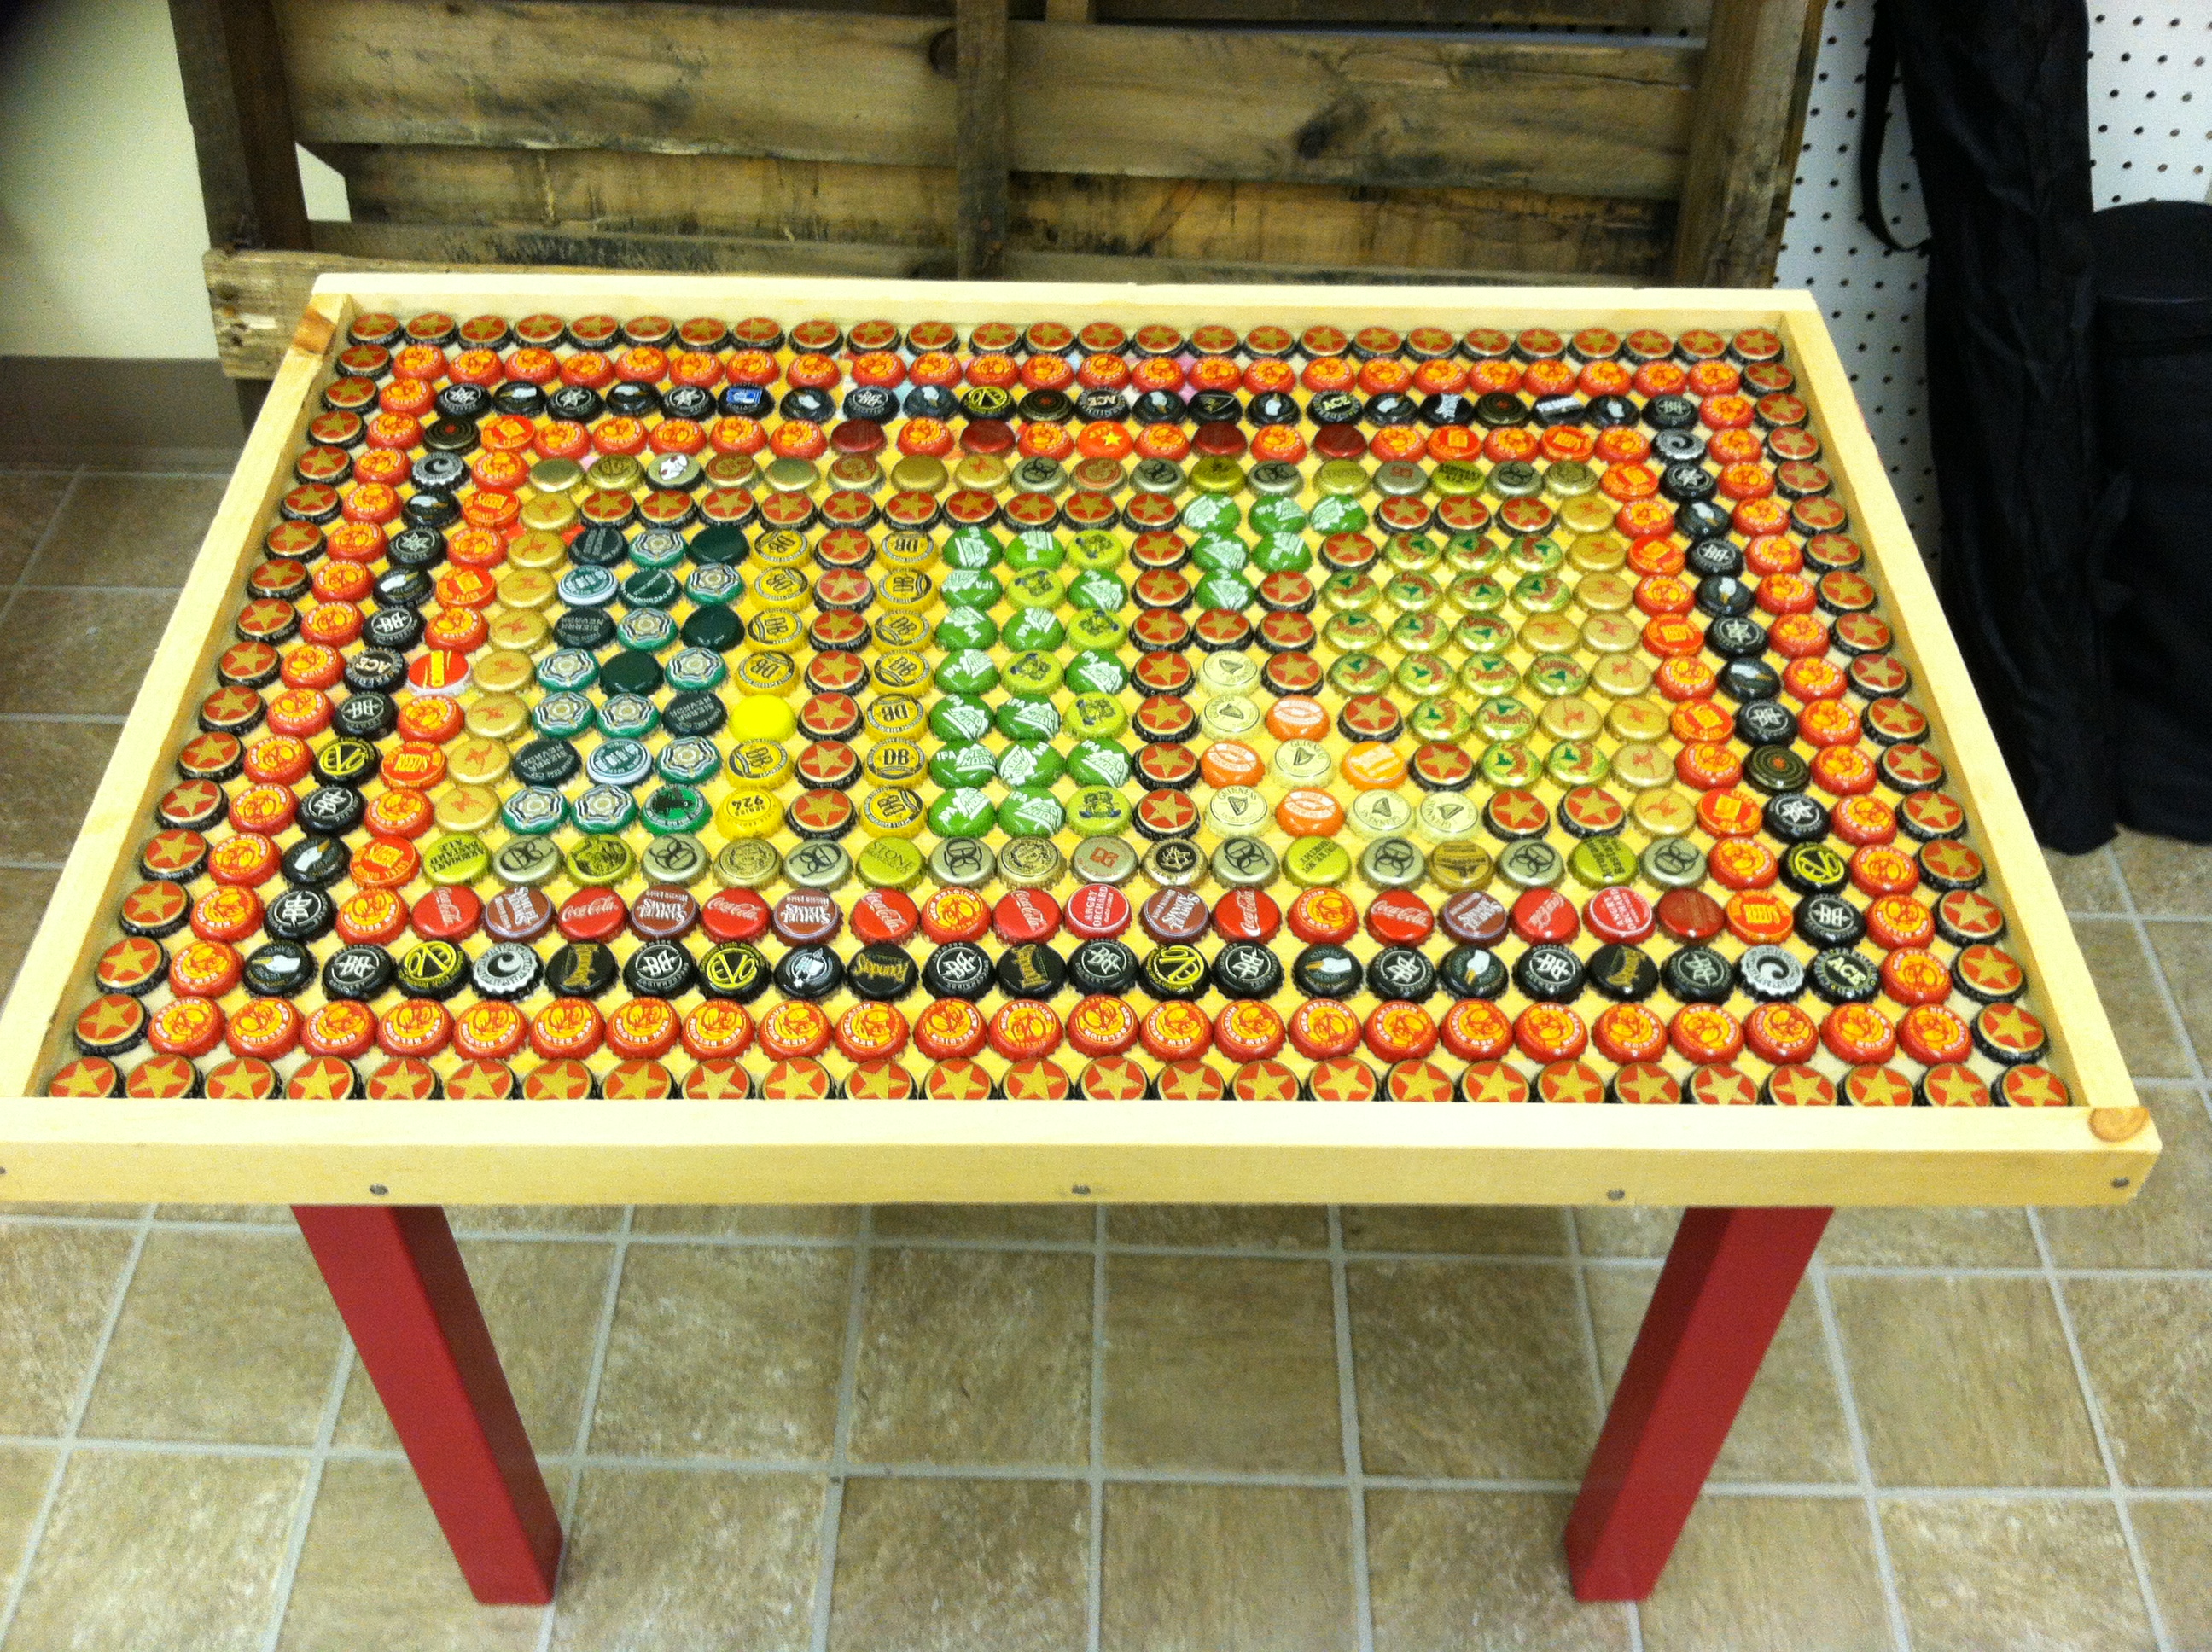
Next, I glued the caps into place starting from the outside. I used Gorilla Glue, which worked well. It provides a strong hold, but doesn’t dry instantly, so you can adjust the caps as you work. You don’t need to use a lot per cap, just a few drops. Once I had glued down all of the caps, I let it dry overnight. The instructions say it is 80% dry in 2 hours, but fully cured in 24.
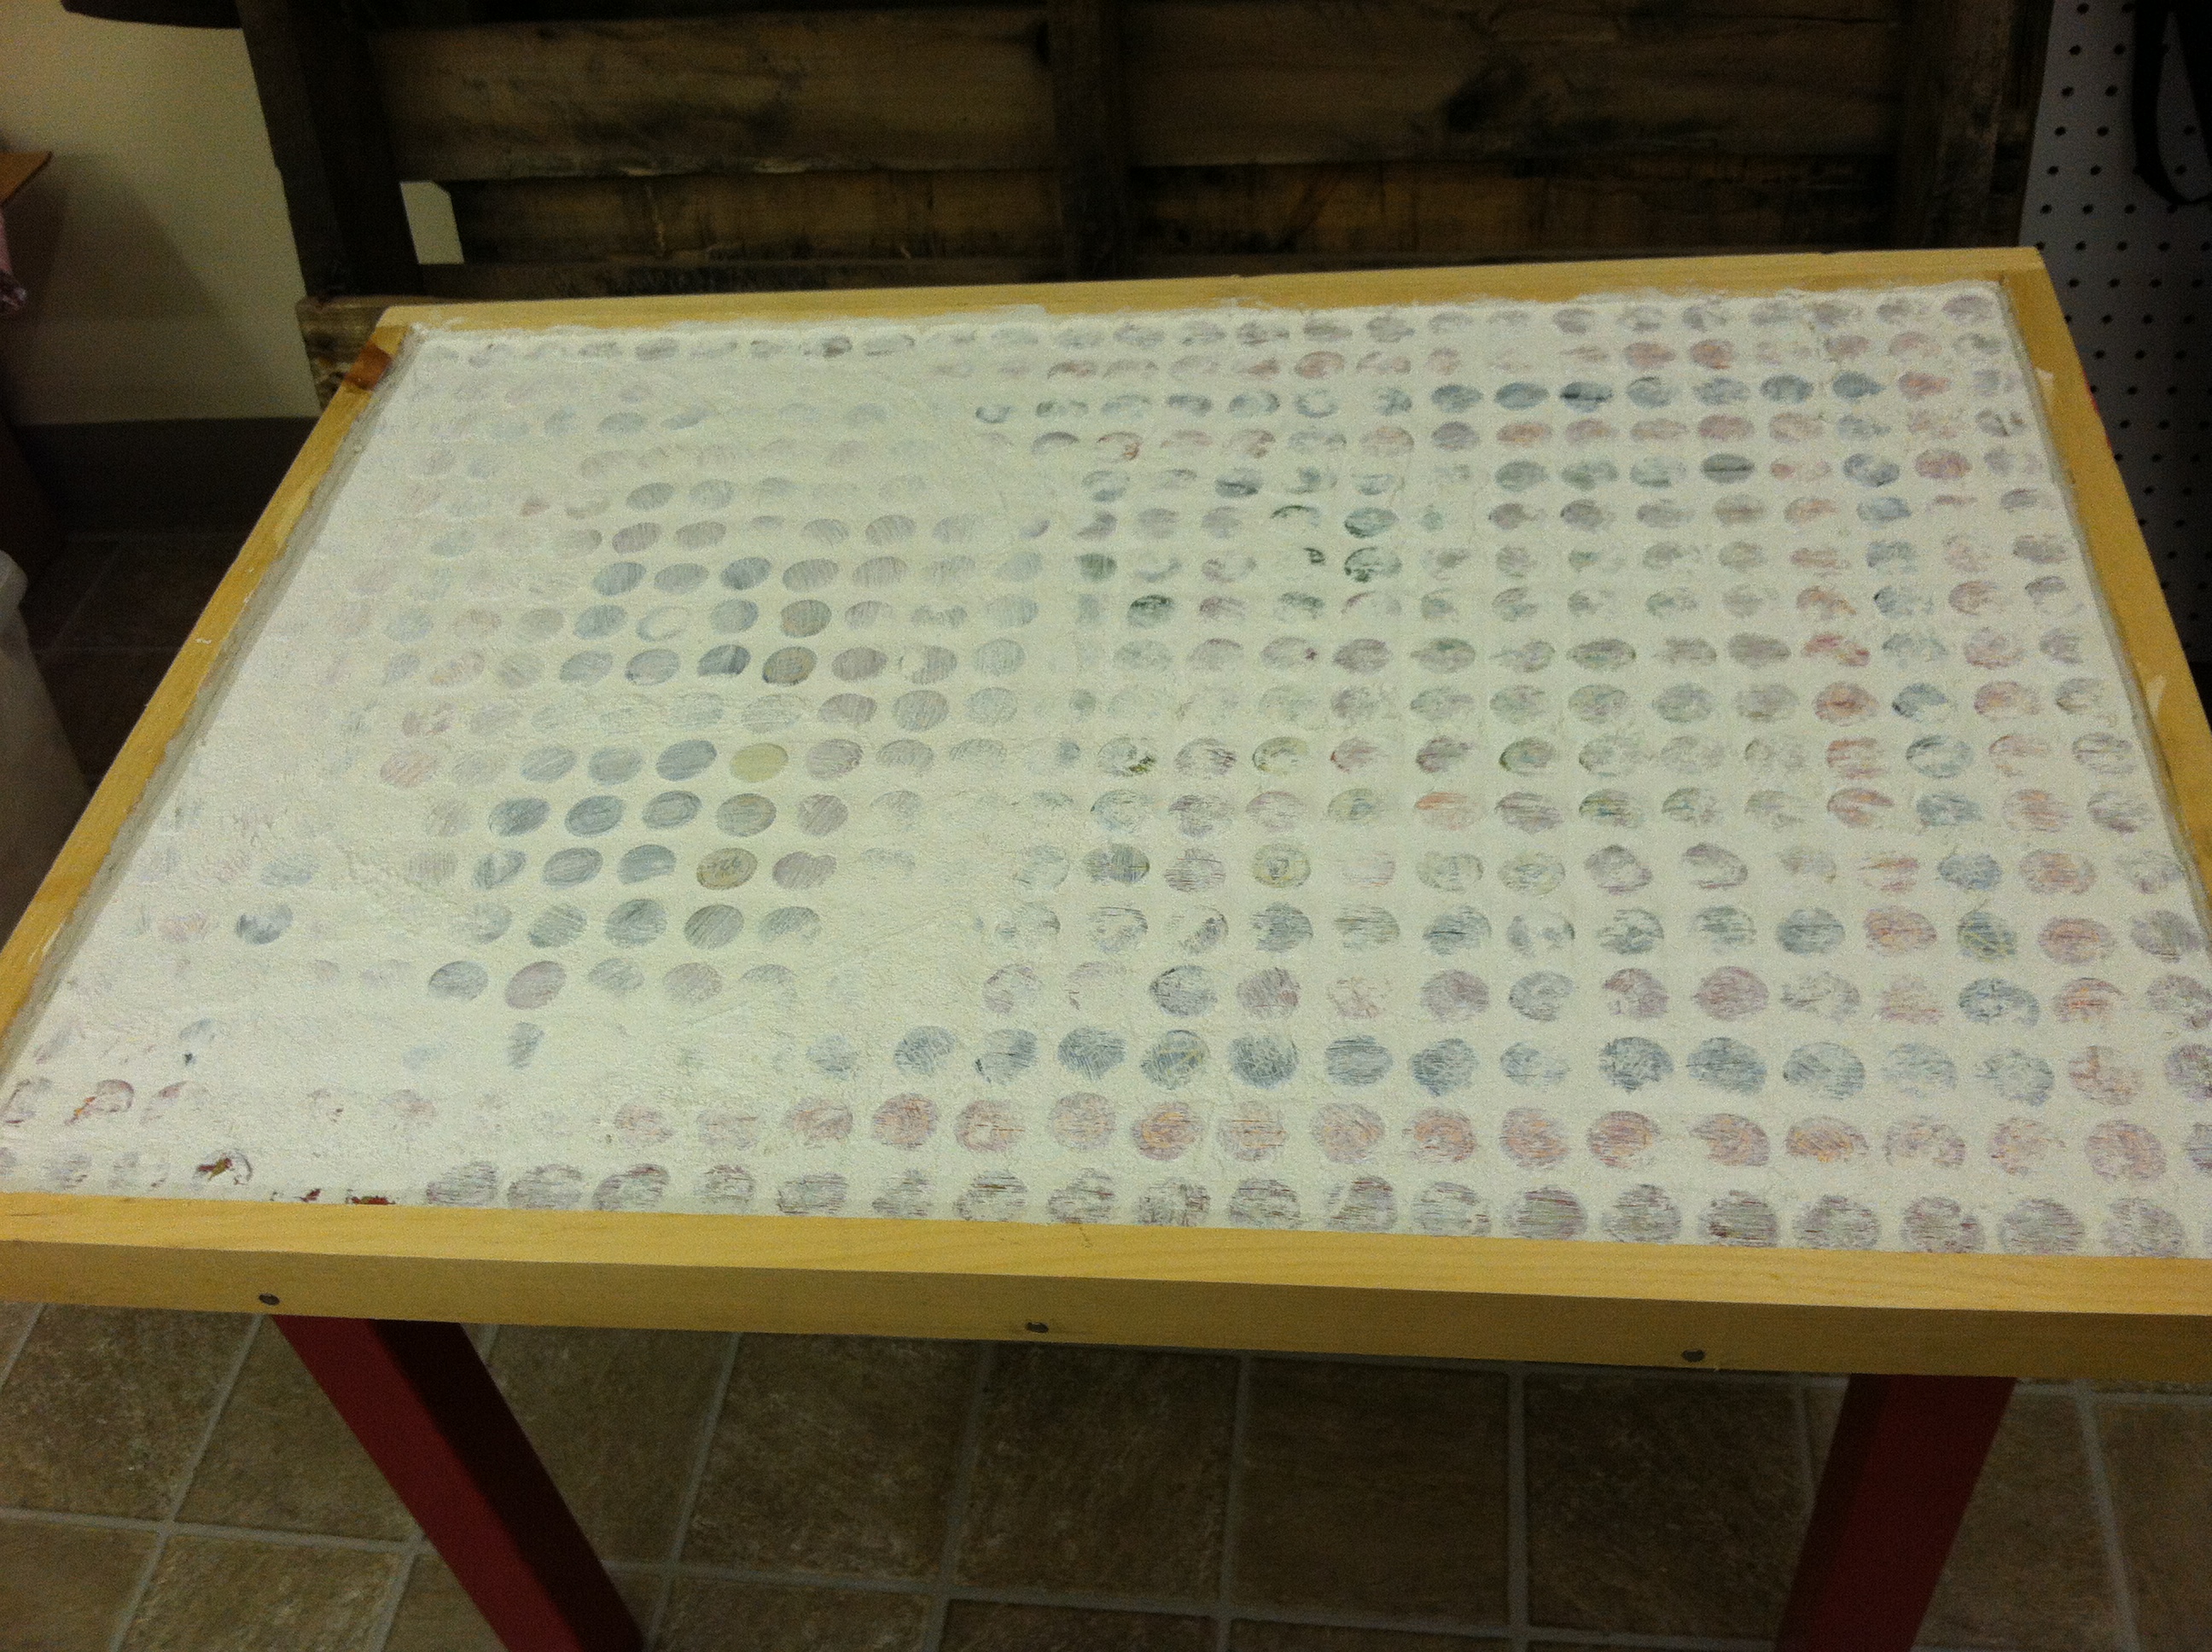
Next, I grouted the caps to give it a tiled effect. Using a grout float, I carefully worked the grout in and around the bottle caps, making sure there were no gaps. I then used the float to smooth the top to make it even and to the point where the caps were just visible. I then used the dampened sponge to wipe across the grout until the bottle caps were visible and the grout was even. It took a lot longer, and required more patience than I had anticipated! I then let it sit for 24 hours.

Finally, I covered the entire surface with epoxy resin, making sure to fill in all gaps. I again let it sit overnight. While not perfect, I was very happy with the results!

I think it looks great. I might have to start collecting.
LikeLiked by 1 person
Thanks, Tammy! You can always start with something smaller like a bottle cap tray 🙂 http://www.bobvila.com/articles/bottle-caps-diy/
LikeLike
Mary, this is AWESOME!
LikeLike
Thank you Anne! It was definitely a challenge but it was a lot of fun!
LikeLike