 Last month I wrote a blog post on the wonders of Yard Salad, that is, salad made exclusively from ingredients found in my yard. In the same vein, today’s post features another seasonal, wild harvested ingredient – the mulberry.
The berries of the Red Mulberry look a lot like blackberries. We have a White Mulberry in our yard, which has the same type of fruit, only pure white. For some great photographs and interesting information on the mulberry, The Natural Capital blog has a wonderful post.
 Our local park has several Red Mulberry trees, which are considered a weed. But I had read in Euell Gibbons Stalking the Wild Asparagus that mulberries are an excellent and underappreciated fruit, and I wanted to give them a try. So my husband and I went foraging in our local park/nature trail and found several trees that were full of the deep purple fruit.
The ripe berries easily fall off of the tree. Sometimes too easily — we lost many dozens to the stream that ran next to the trees. I was also grateful that I had worn a purple dress, since the ripe berries are very juicy and will stain your skin and clothes.
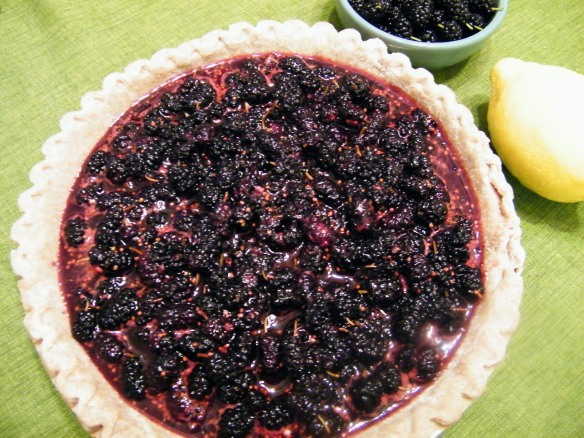
We easily gathered a quart of berries, enough to make a pie. I found several mulberry pie recipes online, and came up with a combination of ingredients that I thought would result in the best flavor and texture. The lemon juice was definitely a good call, since mulberries are sweet in the way that figs are, without any real tartness. The lemon juice balances out the flavors nicely. Anyway, here is my recipe:
- 3 cups of fresh mulberries (thoroughly washed)*
- 1 cup of evaporated cane juice
- ¼ cup flour
- Juice of 1 lemon (strained)
- Double-crust pie shell**
Preheat your oven to 400°F. Combine the first four ingredients in a bowl. Mix well. Pour mulberry mixture into an unbaked pie shell bottom. Top with the other shell and poke holes to allow the contents to vent. Bake the pie at 400°F for 15 minutes. Lower the temperature to 350°F and bake for another 30 minutes until the crust is lightly brown on the edges. Allow the pie to cool before serving.
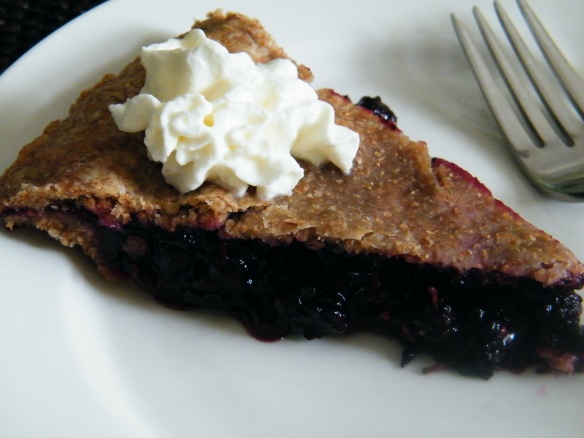
 Although I have not made many pies in my life, this was a fairly easy process. And while my pie was not worthy of a cooking magazine cover shot, it tasted great and was a huge hit with my family.
*I did a Google search to see if I needed to remove the stems, and came across a recent blog post on The Southern Urban Homestead that showed that others have been on the same quest! I was happy to learn that I didn’t need to remove the stems, since that would have been hugely time consuming and would have resulted in many squashed berries. The stems didn’t exactly dissolve, but they became tender and unobtrusive to the texture of the pie.
 **I found an easy pie crust recipe, which I made. But I ended up using a frozen premade whole wheat shell when I realized that I needed to chill the dough I had made for at least 4 hours.
[tweetmeme style=”compact” source=”herbanlifestyle” service=”tinyurl.com”]
